We have a simple step-by-step guide for any of you interested in learning how to install a wall safe in your own home or business.
1. Cut out the opening for the safe
Locate the wall studs with a stud sensor or hammer and nail. Then, use a level to draw a square on the wall between the two studs—make sure to make your measurements for your safe so it will fit in perfectly. Cut out the opening with a drywall saw and make sure to avoid any electrical wiring behind the wall. As a safety precaution (especially if you are uncertain about what is behind the wall), it is smart to cut the electricity to your home or office before making any cuts.
2. Fill in spaces
Once you remove the drywall, you’ll find there are gaps between the cut out and the studs. You can fill this space with wood shims or strips of thin plywood to fill the gaps. Use finishing nails to secure the wood into place.
3. Insert safe into opening
With its door open and unlocked, carefully tilt the safe into the opening and press it into place until it is flush against the wall.
4. Secure the safe
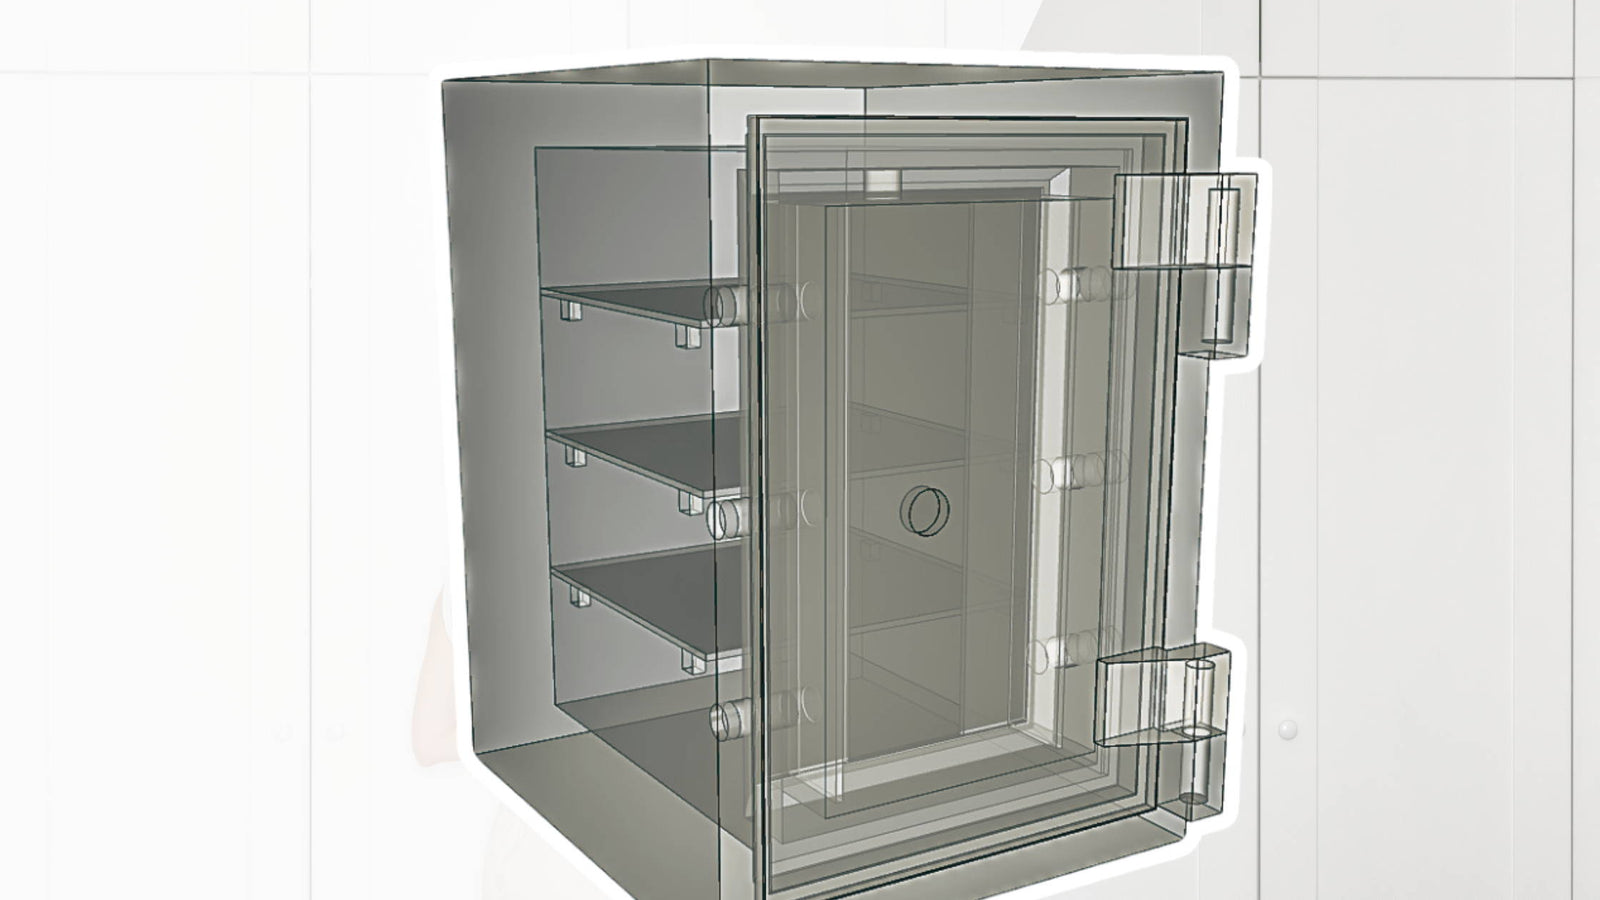
Using the screws provided with the wall safe, fasten the safe to the studs. If you like, you can now install the removal shelves that should have also come with your wall safe. Feel free to close and lock your safe once this installation is complete. _x007f_
Voila! Easy enough even a novice DIYer could do it! Is this a project that you would attempt yourself? Have you installed a wall safe before? We’d love to hear about it.